Post by Suckasays on Jun 8, 2008 16:59:24 GMT -5
UPDATE #3
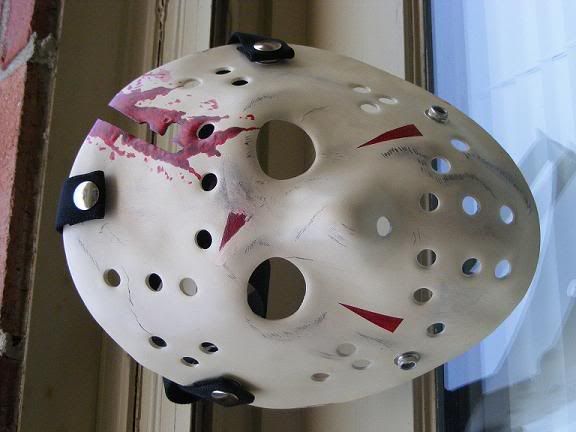
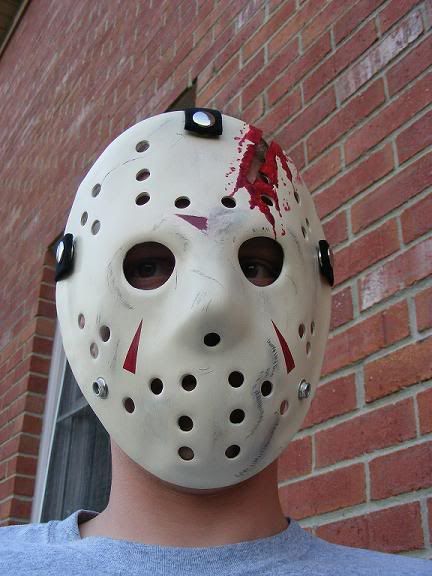
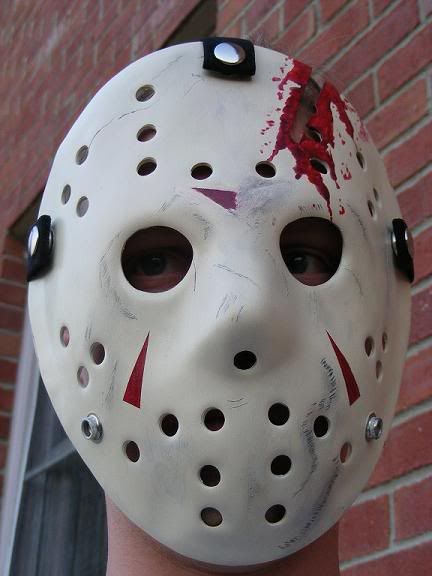
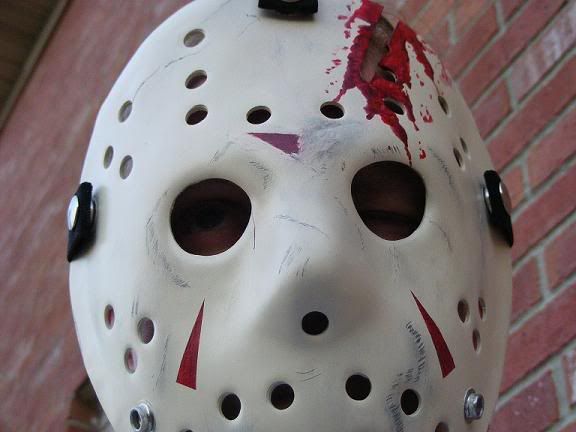
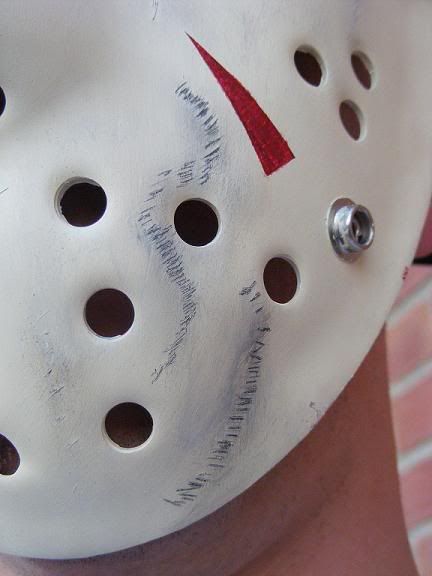
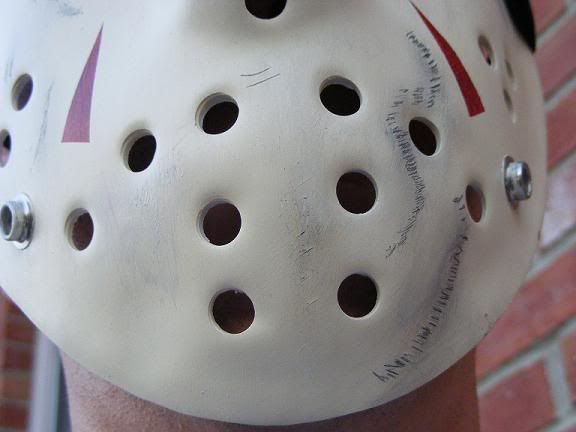
Early this morning (7/13) I finished up another hockey mask. I did this one in the style of the Jason-less Friday the 13th part V. The Roy Burns mask appears to be a tad bit more simple than previous version but in fact it's not. This thing has 6 coats of paint on it! Various shades of gray, tan, and a final dirty white color had to be added to get the look down. Not to mention, these triangles were very hard. I had to make stencils which were hard to apply in the area in which they had to be placed. But I'm very happy with how it turned out. Friday the 13th V often gets a bad rep for having a Jason impostor as opposed to the real thing. But it's actually a very good slasher flick and contains some of my favorite moments of the entire series.
REFERENCE PICS


and here are the pics of my paint up


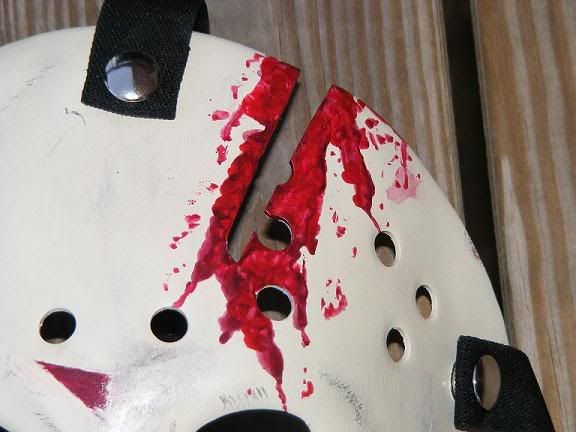
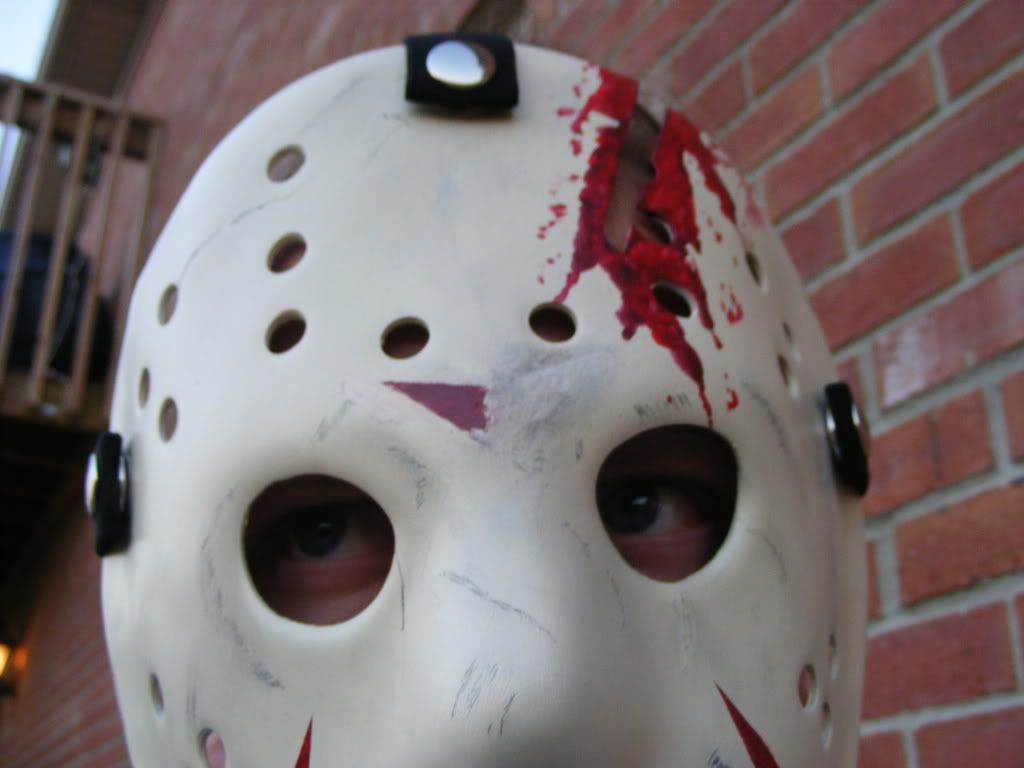
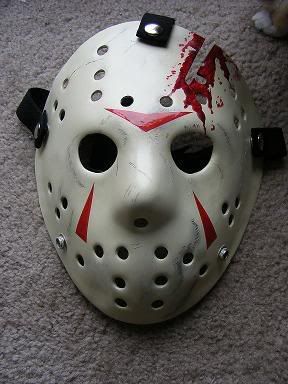
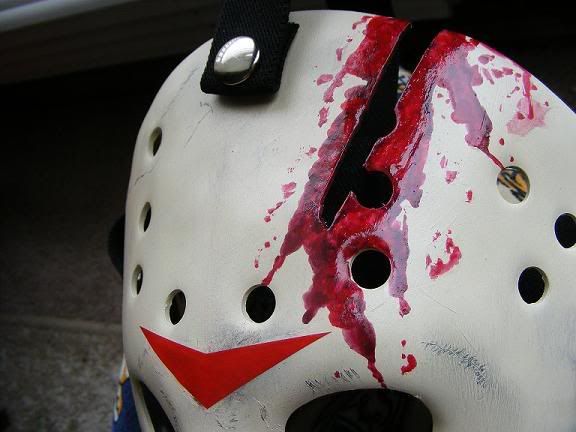
I have also modified my first mask. I made the triangles better and made the blood appear wet
--------------------------UPDATE #2------------------------------------------
I decided I wanted to continue painting these things after having a blast doing the first one. While waiting on my blank masks to come in, I practiced various techniques on a regular piece of PVC pipe and I learned a whole lot about how to make these things look good. So I finally got to start on my latest and I am absolutely thrilled with how it turned out. I think it's a lot better than the first one I did. Here are the pics of my new Jason hockey mask. The original posting is still in tact below if you're interested in seeing my first attempt.
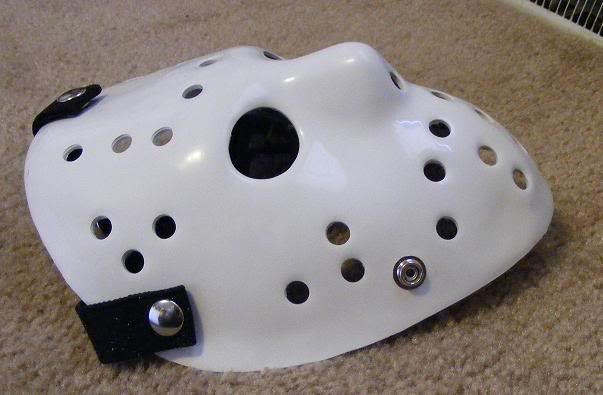
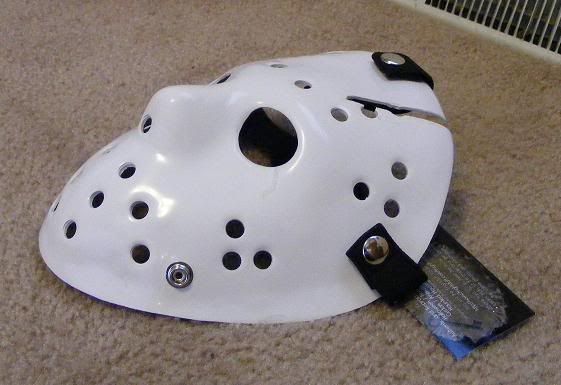
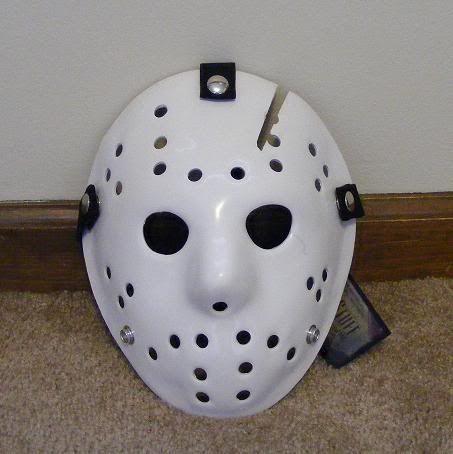
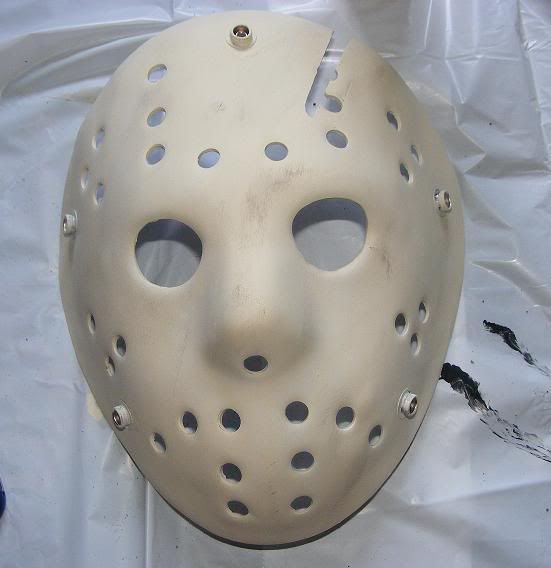
Once again, here are pics of how the mask looks when it arrived. (NOTE: This pic is of my previous mask before the painting process. But they all look the same before they are painted so I didn't bother taking another pic)

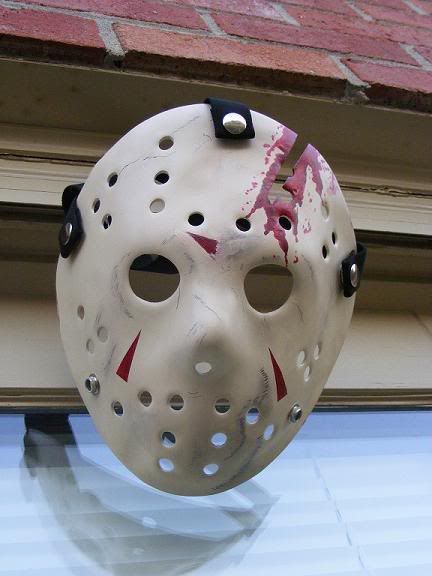
And now...painted pics...


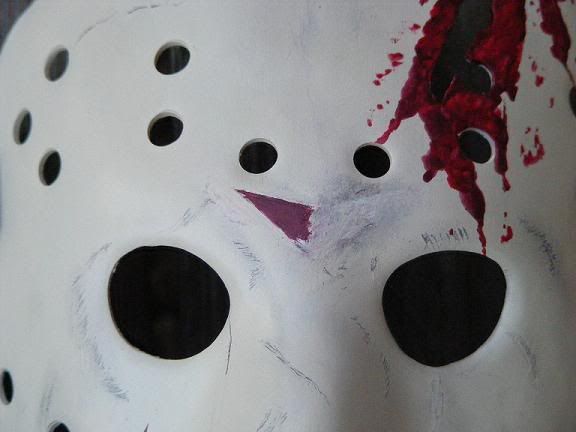
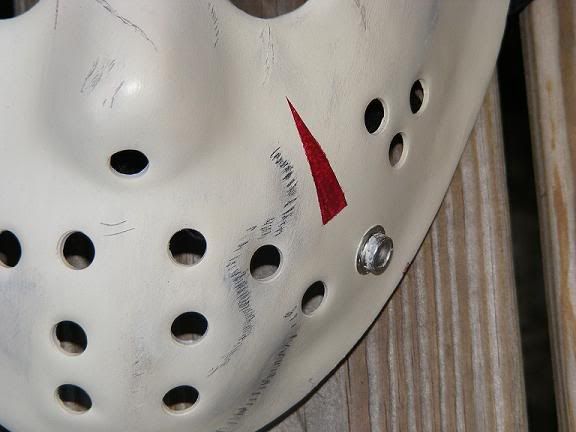
This one is a hybrid of the mask used in the upcoming Friday the 13th remake as well as Friday the 13th: The Final Chapter. I gave the blood a glossy look so it actually looks real and fresh.
Anyway, Thanks for looking. Hope you take the time to comment.
-------------------------ORIGINAL POST------------------------------
After discussing this with HR2X, he told me that he felt this would be the best place to post this. There are a few places that this probably could have went. But the decision was made that this would be the best place.
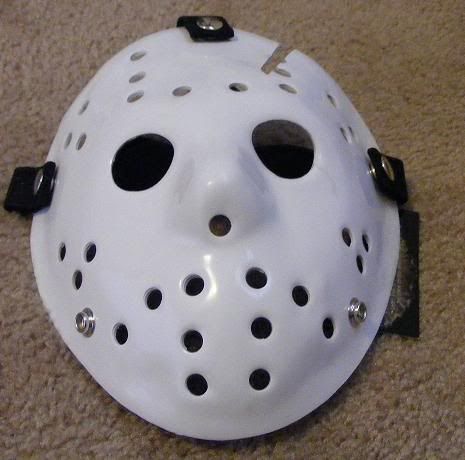
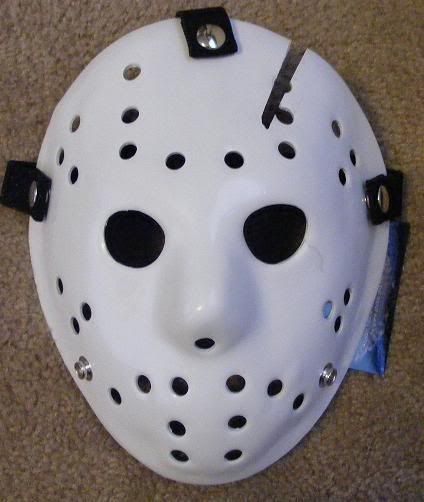
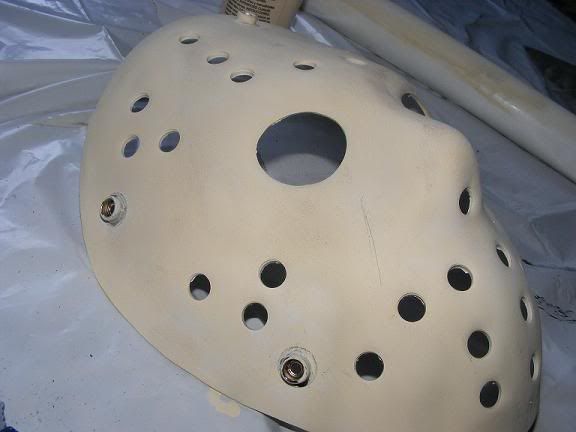
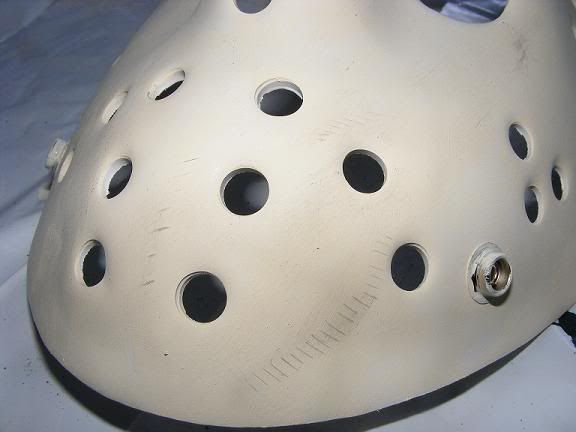
Recently I acquired a hockey mask that was molded from the same mold used to make the original hockey mask in Friday the 13th part 3. The thing is...it was completely blank. No wear and tear on the mask as seen in the films. None of the little triangles that appear on the mask in the flick. No blood from the axe chop. Nothing. It was bright white.
So at first, I had contacted a few people are painting it up and making it look like it was used in the films. I had a few people who seemed interested in doing it, but they either charged too much, or just said they would love to do it only to rarely contact me again.
I had often thought of trying the painting process myself. I've did a few custom figures in the past. But never nothing on too grand of a scale. But this is an iconic piece that I'm so freaking familiar with, that I figured I should at least give it a shot. So throughout the entire day since early this morning, I've been working on it.
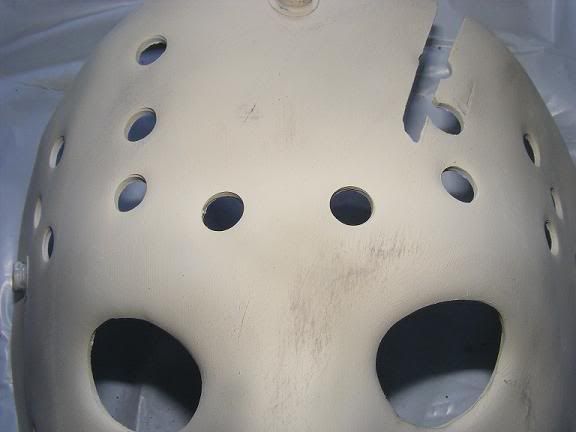
At first, I added damage to it to make it look a tad beaten up using a knife. Then I mixed up some paint to make a dirty off white color. I used white, brown...and charcoal ashes.

I went over the mask with two coats of my mixture and after that, I put one more coat on there. Before that coat was 100 % dry, I carefully ground some more charcoal ashes into the indentations that I cut into the mask.
Then came the hard part. The red triangles. I wanted the middle triangle to be half missing like it was at the end of part IV (The Final Chapter) So I painted the entire triangle and then scraped pieces of it away. I painted around it a time or two and put more ashes in the paint to make it look like the other half of the triangle had peeled away and left residue. The hardest thing and the thing I dreaded the most was the other two smaller triangles on the left and right side. I made a stencil out of masking tape, measured out exactly where I wanted each triangle, placed the stencil into place and simply painted it. They turned out great.
Here is the product thus far. I still have to remove excess paint from the buttons, seal the entire thing and simply reattach the straps. I will take more pictures of it once all of this is complete. It will probably be tomorrow evening. Thanks for looking.
Below is pics taken throughout the day from the point of where it was just a plain ole white mask to the "almost" finished product. I placed the mask on a white surface so you could tell that the mask is a diry "off-white" color.
BEFORE ANY PAINTING
PAINTING/WEATHERING PROCESS


"ALMOST" FINAL PRODUCT

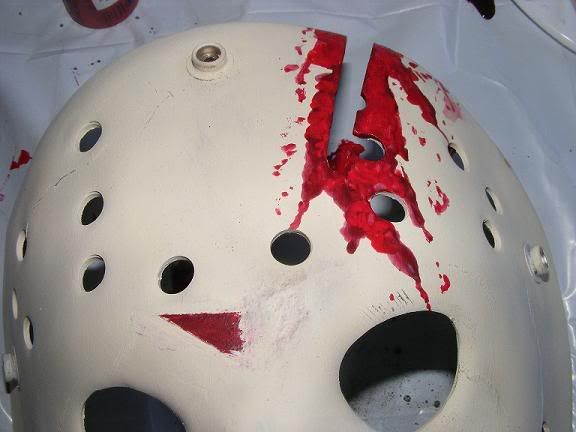
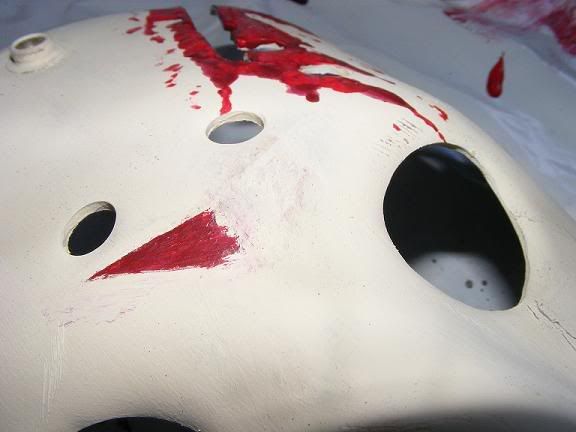
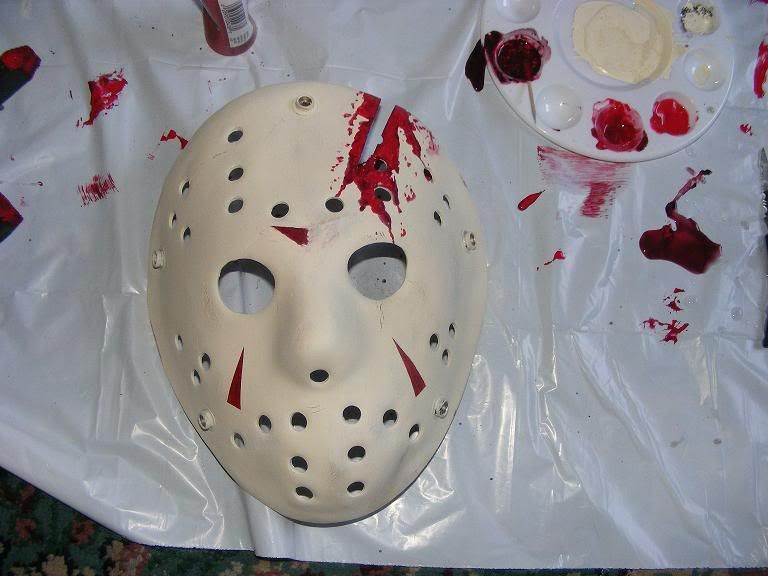


UPDATE! 100 % COMPLETE FINAL PRODUCT
I have finished it. I am very happy with how it came out. I added some more "damage" detail, sealed it, let it dry and reattached the straps. This is my first time trying anything like this. If anyone has any questions, please ask.

